Showing posts with label Scientific Method. Show all posts

Transporting Water and Finding Equilibrium

You may have seen images of this activity before... I know versions of it have been prevalent on Pinterest.  We'll go through the basics and then we'll talk a bit about stepping it up and stretching your kids' brains!

In its basic form, you begin with 3 cups, some water, food coloring and a paper towel.

Fill two of the cups with water and color the water in each cup a different color.

Arrange the cups in a line, with the empty cup between the cups with colored water.

Take a piece of paper towel (I used half a paper towel) and twist the middle a little.  Then bend the towel so that it creates a bridge from one cup to another.  Repeat with another paper towel to connect the other two cups.

Observe.


The water will move from each of the cups, through the paper towels into the empty cup.  You'll know water has moved because there is now water where before there was none and you'll know that it has come from both cups because the center cup will contain green water (the combination of yellow water and blue water).

The movement happens fairly quickly - the process will be complete within a couple of hours.  

It may not be terribly obvious, because we tend to start with about equal amounts of water in the two cups with which we start, but the water will keep moving until all three cups have equal amounts of water in them.  

At that point, water stops moving and system will basically just sit there.  The cups have reached equilibrium. You can let the cups sit there for days and you won't notice much changing. 
I took this photo before the system had reached equilibrium and forget to take another one after the process was complete.  But I can assure you that all three cups finished with an equal amount of water.
Now is when you can really challenge your students to figure out what's going on within the system.  What will happen if more water is added to the system?

You can add water by pouring more water into any one of the cups in the system.  Or you can add a fourth cup to the system and connect it with a paper towel.

I chose to add another cup of water (uncolored this time) and connect it to the middle (green) cup with a paper towel.

Make sure the cup you add to the system has a different water level than what's in the other cups or you won't get any movement.  I was trying to move water into the green cup, so I made sure my new cup was pretty full of water.  You could also connect an empty cup to the system via paper towel and watch the water flow in the other direction.

The system that had been sitting dormant for several days sprang into action. 

Colorless water flowed into the green cup (as evidenced by the lightening of the green color).  Green water then flowed into the blue and yellow cups (as evidenced by the color change in those cups). 

A really simple experiment with a lot of permeations - you can keep playing with it day after day, adding water or empty cups at different spots in the system.  Really great for inquiry learning and exploring!

Dissecting a Diaper

Mystified by the amount of water a single diaper can hold? 

If you've got a few extra diapers laying around after last week's experiment, consider dissecting one and to learn what's inside. 


You'll need a diaper, a pair of scissors, and a zip-top bag.  You may also find it convenient to work over a black piece of paper.

Begin by cutting a slit in the diaper.

Pull the "stuffing" out of the diaper and place it in the bag. 

At this point, you may feel some small granules, and notice white powder gathering on your piece of black paper.  These are sodium polyacrylate crystals - the magical component of disposable diapers. 

You can gather additional crystals by sealing the bag and shaking it for a minute or two. 

While shaking, the crystals should separate from the cotton and settle at the bottom for the bag. 

Once you've isolated the crystals, you can experiment with them (though you won't have very many from a single diaper).  See how much water they absorb.  Or try one of the water-absorbing crystal tricks mentioned here

Again, it could be interesting to compare the crystals found in different brands of diapers - are they all the same size, do they come in the same quantity? 

A good scientific exploration to learn more about the world around us, and also an introduction to polymer chemistry!

Scientific Method: How Much Water Can a Diaper Hold?

A different, and very intriguing question to try to answer using the scientific method. 

For a basic investigation, you only need a diaper, water* and graduated cylinder (or measuring cup).  Just for fun, you could add a drop of yellow food coloring to your water supply... it might completely gross you out, but middle school boys will be completely sold on it!

Open the diaper and pour 100 ml of water onto it. 

Hold the diaper by the ends and gently rock it back and forth until the water is absorbed.

Continue to add water, in 100 ml increments until the water is no longer absorbed. 

To take the experiment one step further, you can compare the absorbency of different brands of diapers.  Make sure you use the same size diaper for each brand.  After gathering your results, you could even determine the diaper cost per mL of water held!  Do the more expensive diapers hold more water?  Remember, for the most accurate results, you should test several diapers of each brand. 


*I've always seen this basic experiment done with plain water.  But, if you'd like to simulate urine, mix 9 grams of salt into a liter of water and use that solution.  I've read that the diaper will perform differently with this solution than with straight water.  That sounds like an experiment worth trying! 

Rate of Solution: Sugar Cubes


I did this with 4th grade students who were learning about solutions. It's simple, but they have a good time and learn a little something in the process!

For each pair of students, you'll need:
-Cup/Beaker
-4 Sugar Cubes
-Spoon
-Stopwatch

For the whole class:
-Hot Water
-Room Temperature Water
-A means of crushing sugar cubes

Provide each pair of students with a cup (clear is better - it's hard to see a white sugar cube in a white cup) of room temperature water.

Have them drop a whole sugar cube into the water and time how long it takes for the cube to dissolve (no stirring).

This is their baseline measurement. They'll now test several variables, one at a time.

With a fresh cup of room temperature water, drop in a whole sugar cube and time how long it takes for it to dissolve when you STIR it.

With another fresh cup of room temperature water, drop in a CRUSHED sugar cube and time how long it takes to dissolve (no stirring).

Get a cup of HOT WATER, drop in a whole sugar cube and time how long it takes to dissolve (no stirring).


There are several ways to conclude this experiment. Try one or more...
1 - Have students create bar graphs of the data:
-Room Temperature water vs. hot water
-Stirring vs. not
-Crushed cube vs. whole cube

2 - After students have analyzed their data, have them race to see who can dissolve their sugar cube the fastest. They've got three choices to make: hot or room temperature water, will they stir or not, and will they use a crushed cube or a whole cube.

3 - Along the same lines as #2, have a contest where students try to prevent a sugar cube from dissolving for as long as possible.

Scientific Method: Magic Grow Capsules

Ever played with these?

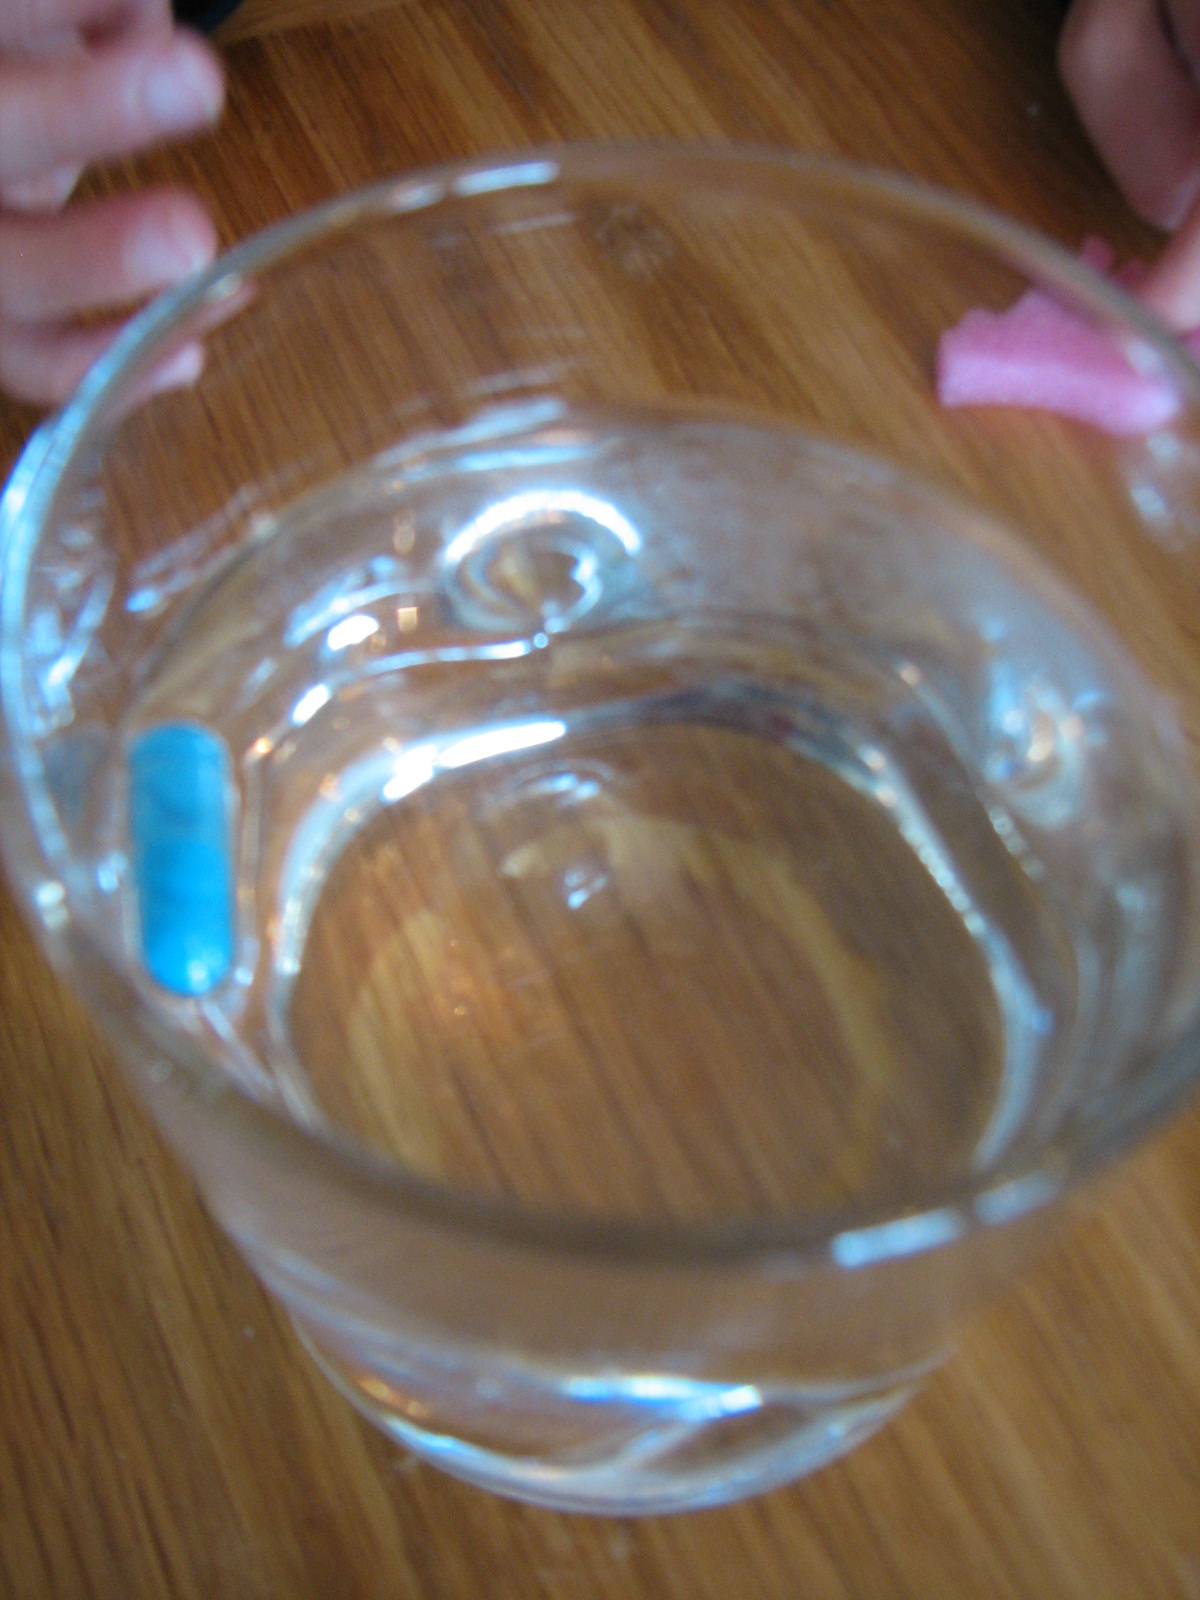
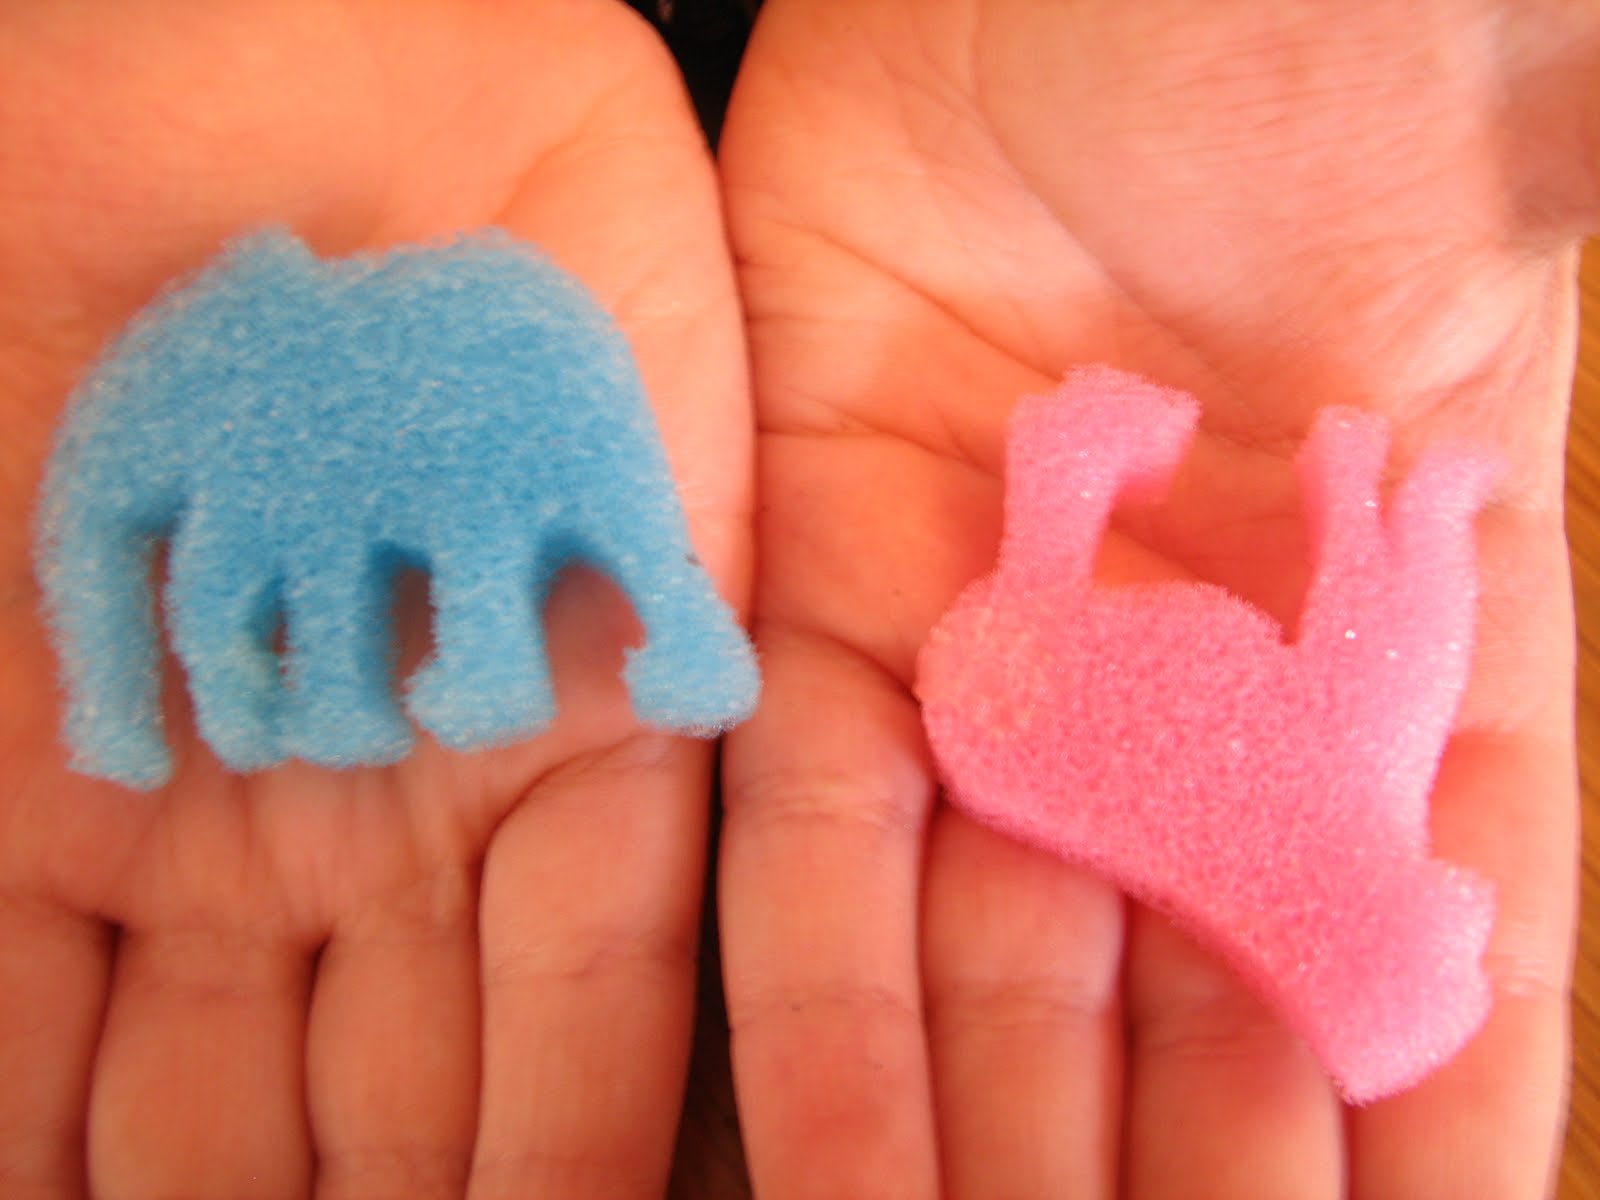
If you're not familiar with them, they're Magic Grow Capsules. They are small sponge shapes compressed and enclosed in a capsule that dissolves in warm water. Look for them in the dollar section of your favorite retailer, or in the party favor area.

They're fun! And what better way to get your students interested in the scientific method than with something fun?

There are several ways you can go with these guys.


One simple variable to test is the water temperature. The instructions say to use warm water. How long does it take for them to open in warm water, cold water and hot water? A graph comparing the results would probably be appropriate.


Is water the only liquid that works? Try out some other liquids and see if they are equally effective (make sure your liquids are all at the same temperature... you only want to test one variable at a time).


Ask your students to generate other ideas... they will...
-do they still work if the capsules have been microwaved?
-will they work in cold water in the bell jar (air pressure removed)?
-will they work if I bury them in the ground and pour water over them?

Scientific Thinking: Dogs and Turnips

Scientists use the information they find/learn/acquire along with their own background knowledge to make hypotheses to explain what they're observing. As they acquire more information, those hypotheses can change to incorporate the new information. Scientific knowledge constantly changes.

This activity demonstrates this process, in a classroom-friendly, time-friendly manner. It's a new activity to me, but looks like a keeper. Exact instructions can be found here, but here's a synopsis.

A long sentence - The big fat red dog walked into the little white house on the prarie carrying a bone and ate his bowl of turnips - is printed and cut into individual words, which are placed in an envelope.

Students select 5 words from the envelope. Using the words they've selected, they hypothesize what the story is about.


An additional 5 words are selected. Using all 10 words, the students tweak their hypothesis to incorporate the new information.


Another 5 words are selected. Using all 15 words, the students refine their hypotheses some more.


Finally, all the remaining words are removed from the envelope and a final hypothesis is created.

Even after all the groups have all the information, they will likely have variations in their hypotheses. Why? What does this tell us about science?


Additionally, Liz LaRosa blogged about her use of the activity and has been generous enough to share her worksheets for use with this activity. If you haven't checked out www.middleschoolscience.com, you really need to - it's loaded with great stuff!