Showing posts with label Oceans. Show all posts

Oceanic Acidification & Seashells

Birds and their eggs aren't the only animals for whom an increasingly acidic environment would cause great harm.  This simple activity demonstrates the effect of acid on shellfish.


You'll need a couple of shells (large or small, any variety, but for the sake of comparison, it's good to have two of the same), two cups or beakers, vinegar and water.

Place each shell in a cup/beaker.

Cover one shell with water.  You might want to use salt water, as these organisms live in the ocean, but I didn't think of that as I was setting things up. You could also do three shells at a time - one in vinegar, one in water and one in salt water.

Cover the other shell with vinegar. 

You'll notice that the shell in the vinegar immediately begins to form bubbles and fizz.  The vinegar is breaking down the calcium carbonate that composes the shell. 

Within 24 hours, you'll notice the shell that was in vinegar has holes in it.  If there was still a creature living in the shell, this could obviously be detrimental.

Vinegar, while a weak acid, is quite a bit stronger than acidified ocean water.  The stronger acid speeds up the process, making it visible within a short period of time - perfect for students to grasp an understanding of the process.  Shells in an acid ocean environment would be subject to the same chemistry, it would just take place at a slower rate.  

You can learn more about the chemistry taking place, as well as ocean acidification here.  

You may wish to continue to leave the shell in the vinegar for an extended time to observe further.  If so, it may be necessary to replace or replenish the vinegar.  (I used a small enough amount of vinegar that the chemical reaction came to a halt within a day or so).

****************

Remember to head over to Pow! Science! to check out their merchandise and put your Science Matters discount to use!  Details can be found here.  

Turtle, Turtle, Watch Out!: Turtle Hurdles


Turtle, Turtle, Watch Out! follows one sea turtle from egg to egg-laying mother, through challenge after challenge, some man-made, some the natural order of things. 

This story and activity could be used in any number of units: the ocean, animals, predator/prey relationships, human impact on nature, etc.

Begin the lesson by reading the story aloud to the students.  While they're listening, have them write down challenges the turtles face as well as the good things that happen that aid the turtle's survival.  Or maybe you'll want to read the story twice - the first time just for listening, the second time for taking notes.  As a class, you can brainstorm additional items to add to each list, if you desire.

Next, each student will make a cootie catcher.  If you or your students are familiar with making these, I've included directions at the bottom of the lesson.

Label the inside of your cootie catcher as shown:

Now, pick 8 items from your lists - 4 from the list of challenges, 4 from the list of "good things". 

Open the flaps of your cootie catcher and write one item under each letter.  The order in which you write them can be completely random.

You'll also need to make a simple mat (one for the class) - use the following picture as a guide - and get a die.

Now you're ready to play. 
To being with, everyone needs to stand up - everyone is a thriving baby turtle.
The teacher, or other designated party, rolls the die onto the mat.  Each student manipulates his/her cootie catcher the number of times indicated by the die.  Then the students read the message under the letter that corresponds to the letter the die landed on.

Students whose message is a challenge or threat to the turtle sit down - they haven't survived.  Students who receive a message of a "good thing" remain standing.
The students who remain standing play another round in the same manner.  Try to play 5 rounds, or see how many rounds it takes for all students to be sitting.
Baby sea turtles face a lot of challenges in making it to adulthood, as do many other animals.  Hopefully this fun game helps your students understand just how few babies survive to adulthood and encourages them to think about the impact of their actions on other species. 
To Make a Cootie Catcher
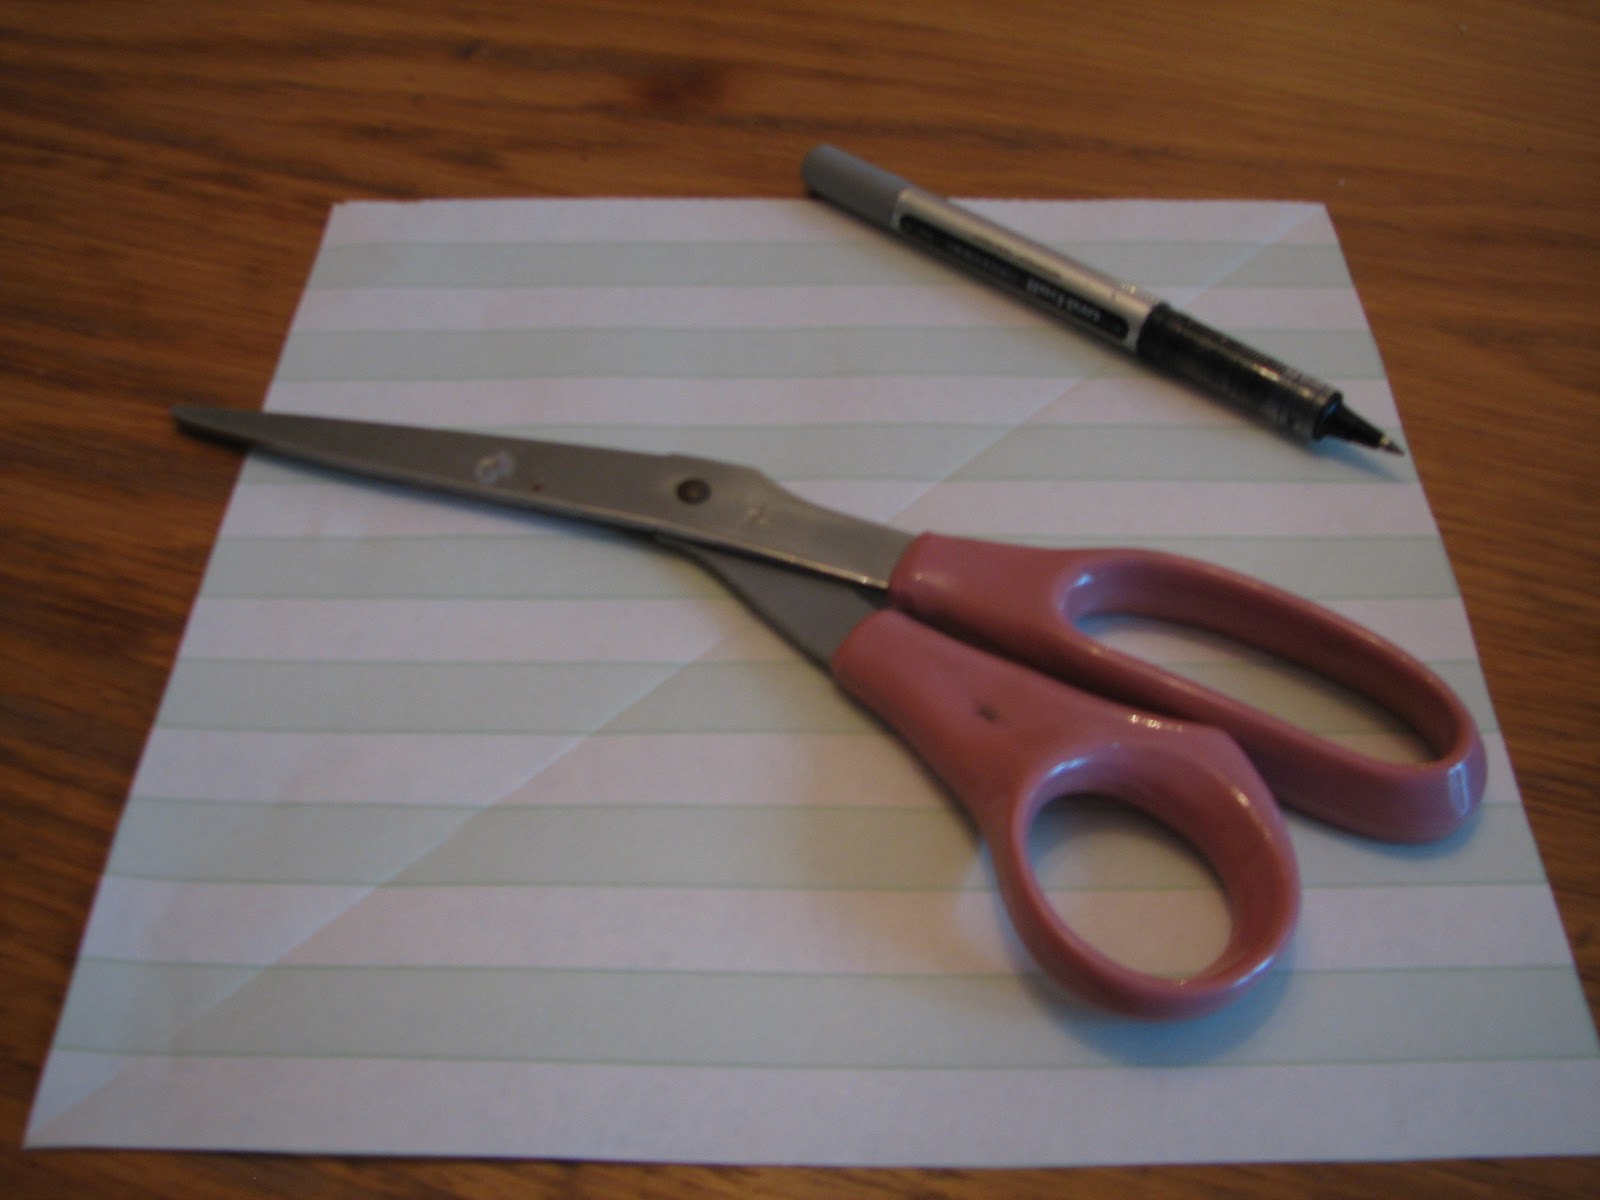
Begin with a square piece of paper. (I cut 8.5x11" paper into a square).
Fold the square in half along the diagonal.
Unfold.  Fold in half along the other diagonal.
Unfold.  You'll have a square piece of paper, with the fold lines making an X across it.
Pick one corner of the square, and fold it, so the point is at the center of the X.
Fold in each of the additional corners of the square.

Turn your newly formed square over.

Repeat the previous step, folding each point into the center of the square
Label the sections, as directed above.
Fold the cootie catcher in half, to make a rectangle. 


Place both your thumbs and index fingers under each flap to work the cootie catcher.

*****
This activity is adapted from "Turtle Hurdles," published in Picture-Perfect Science Lessons by the National Science Teachers Association.

Oceans: Increasing Pressure with Depth

Students don't always understand that the deeper you go under water, the greater the pressure.  This immense pressure is one of the reasons why so much of the ocean floor is still unexplored. 

Try out this demonstration to help your students visualize the pressure increasing as they travel deeper.

Begin with an empty carton from a half-gallon of milk or OJ.  (A bottle would work too, but it's much more difficult to make the holes). 

You'll also need some masking tape, a large tub in which to collect water and a poking device - I found a skewer worked well for me.

Lay the carton on its side on the table and make a hole near the bottom of the carton.

Make a second hole 1 - 2" above the first hole and a third hole 1 - 2" above the second hole.

Run a strip of masking tape down the carton, covering all three holes.

Fill the carton with water and set it on the table, with a tub to catch the water when it spills out of the holes. 

When you're ready, remove the tape and observe the water flowing out of each hole.

The water coming out of the bottom hole is under the greatest pressure (it has the most water/weight on top of it) and it is pushed out of the carton with much greater force - look how far it shoots out.

The water coming out of the top hole is under little pressure (there's not much pushing on it), so it sort of dribbles out.

Who Dirtied the Water


Who Dirtied the Water is an excellent activity found in the Access Excellence Fellows Collection.  

In short...
...you begin with some nice clean water from an undisturbed lake.  Beavers come and add some wood chips to the lake and a river washes sand into the lake.  People begin to settle the area and their waste enters the lake.  Soil from farm fields washes into the lake.  Eventually a city grows there, with houses, laundromats, factories, etc.  Each of these new additions adds something to the lake.  

As you read the story, students come and add the material to the water.  Periodically throughout the story, you ask the students if they'd want to swim in that water, eat fish caught in that water, or boat in that water.  

It's a powerful demonstration of what can happen to a water source over time.  And it's great for staring a discussion.  Students will have all different ideas of how dirty is too dirty.  And at the end, you get to the big questions - who made the water dirty and even bigger - who's responsible for cleaning up the water.  


It's a fantastic activity.  I most recently used it as part of the local library's summer reading program.  Since there were young (preschool) children taking part, I made a few changes.  

I made a name tag for each part, which contained a picture as well as the name.  The film canisters were labeled with pictures that matched those on the name tags.  These modifications made it more meaningful for children who are not yet reading, as well as making it easier for them to participate. 

For a nice progression of activities, start with Earth Ball Catch (land vs water on Earth), then do Earth's Water Necklaces (salt water vs. fresh water on Earth), and then do Who Dirtied the Water (take care of the tiny amount of fresh water available).

Earth's Water Necklace

I use this as a follow-up to ProjectWET's A Drop in the Bucket* demonstration.

Each student will need:
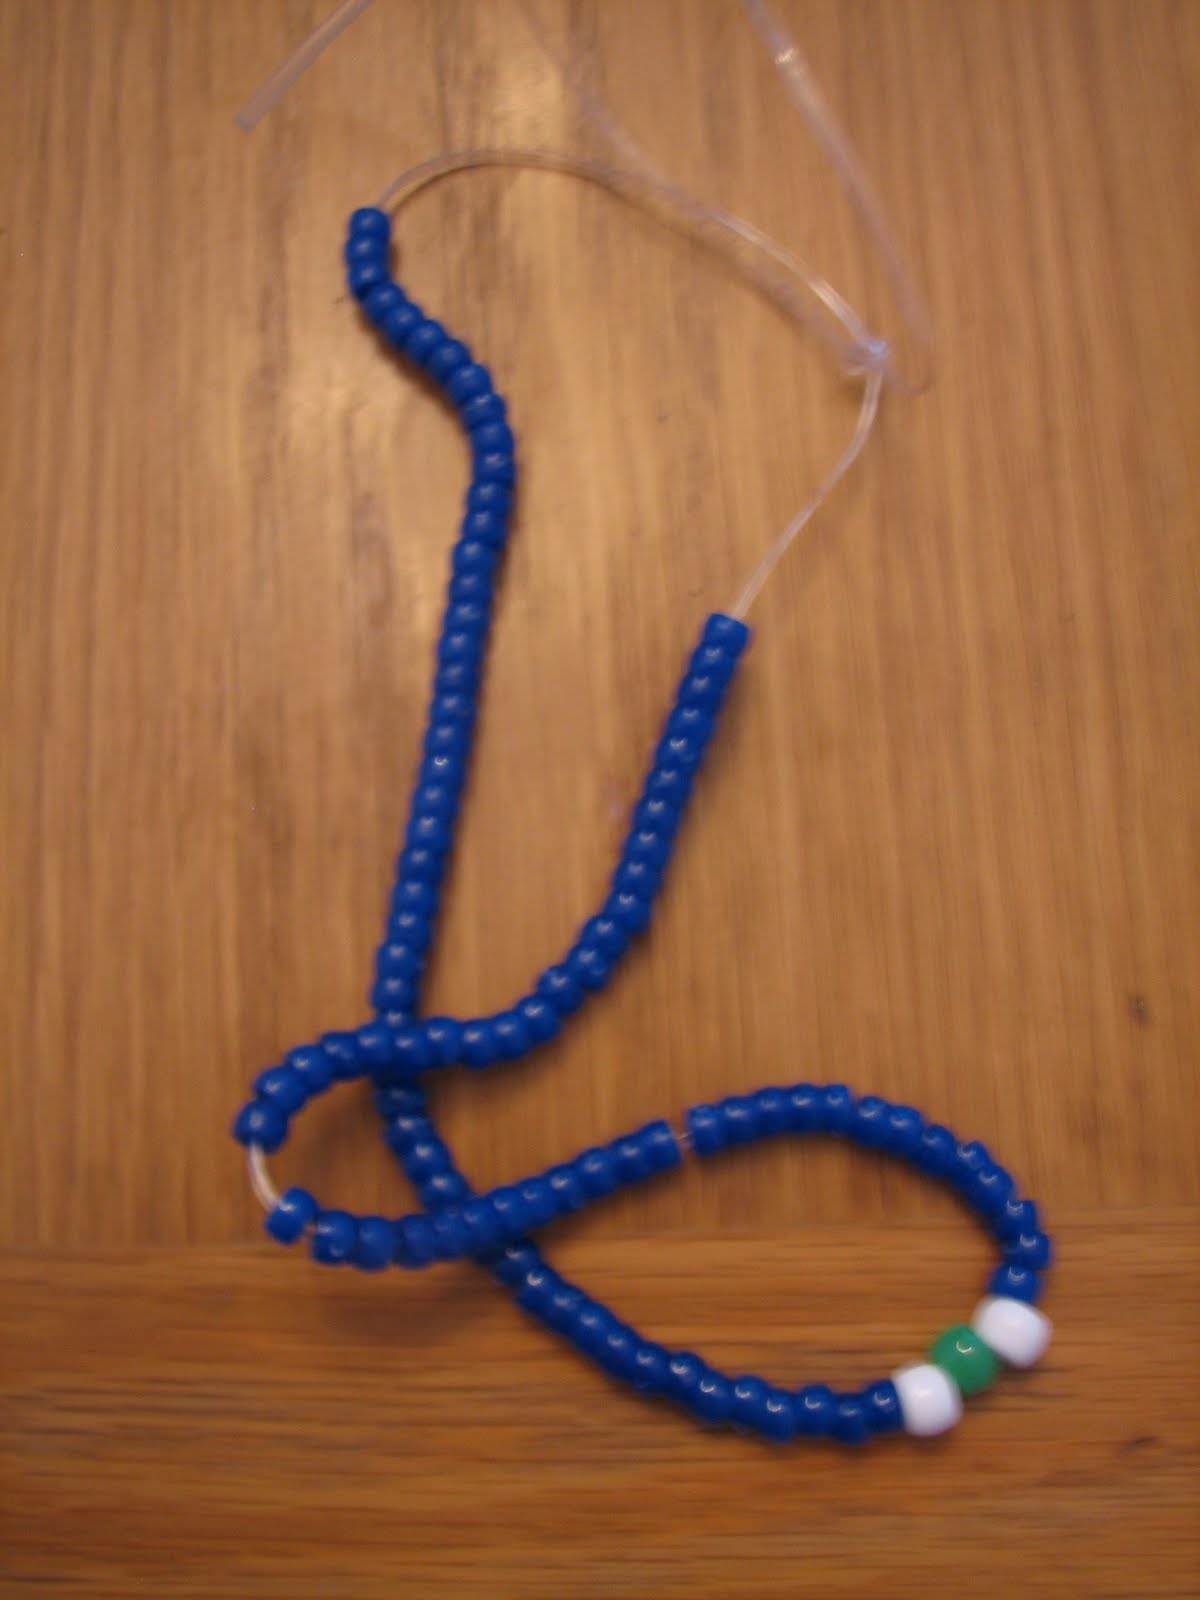
-97 blue beads
-2 white beads
-1 green beads

Students string their beads onto a length of lanyard lacing.  They can string them in any order - I happen to prefer the symmetric approach, but the white and green beads can be placed anywhere on the cord.

The beads represent all the water on the planet.  The blue beads are salt water.  The white beads are frozen water.  The green bead is liquid fresh water. 

It's a great visual reminder of how precious a resource fresh water is.  I've done this activity with students as young as preschool (I count out the 97 beads for them) and as old as 6th grade. 


*You start with 1000 ml of water - that's all the water in the world.  Pour out 30 ml.
970 ml are salt water.  30 ml are fresh water.
From the 30 ml, pour out 6 ml.
24 ml are ice.  6 ml is liquid fresh water.
From the 6 ml pick up 1 ml.
5 ml are unusable (pollution, etc.).  1 ml is usable water.

So in summary:
970 ml - salt water
24 ml - trapped as ice
5 ml - polluted or otherwise unusable
1 ml - water usable for human consumption